Controlling depth of field
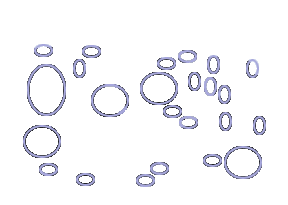
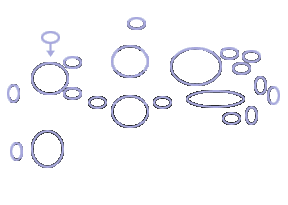
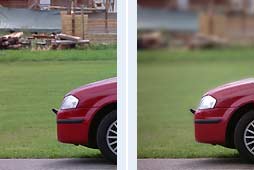
When a lens is focused on a subject, there is a certain range behind and in front of the subject that remains sharp, as mentioned in the part "the aperture". This range is called "Depth Of Field" or DOF. The photos show how depth of field varies with the aperture selected.
- Large apertures (e.g., f/1.7) yield a shallow field of sharp focus, rendering the background and foreground unsharp
- Small apertures (e.g., f/22) yield greater depth of field with more of the scene in focus
At a given aperture and focal length, depth of field also varies with subject distance: When the lens is focused on a close subject, depth of field is less; when focused on a distant subject, depth of field is greater. Focal length does also affect DOF; a wide angle lens will give a large DOF, while a tele lens gives a shallow DOF.
DOF preview lever
The preview lever can be used in all exposure modes to close down and lock the lens' aperture. This enables you to determine whether depth of field is sufficient. The lever is hinged and folds up against the handgrip when not in use. To use:
- Focus on the main subject.
- In A or M mode, set the desired aperture. In P or S mode, meter in the usual way.
- With film advanced, press the preview lever partly down and release it. Lens aperture will now be locked at the setting displayed in the data panel. "F" blinks in the data panel while the preview lever is used.
- Look through the viewfinder to determine DOF. When the lens is closed down, autofocusing does not operate and it is not possible to adjust the aperture setting. Also, the viewfinder image may appear dark, but this has no effect on exposure.
- To cancel the preview operation, press the preview lever all the way down and release it. The aperture setting can now be adjusted by using the up/down controls as usual. The DOF preview is also cancelled if the shutter is released with the lens stopped down.
- When pressing the DOF preview lever down just a bit, the camera will stop down the aperture to the desired aperture. When pressing a bit more, the camera will stop down to the minimum aperture available on the lens (e.g., 22). The viewfinder gets very dark, but that's normal. Just press the lever all the way to the bottom and the viewfinder will be normal again.
- The camera won't stop down the lens with the DOF preview lever if the film is not advanced.

